
Trace the water
Review the timing, location, drainage, grading, walls, floor, and sump.
Water at the floor does not always mean the floor is the source. The best plan starts by identifying whether water is entering through a crack, the wall-floor joint, a window well, a drain, surface grading, or a failed drainage system.
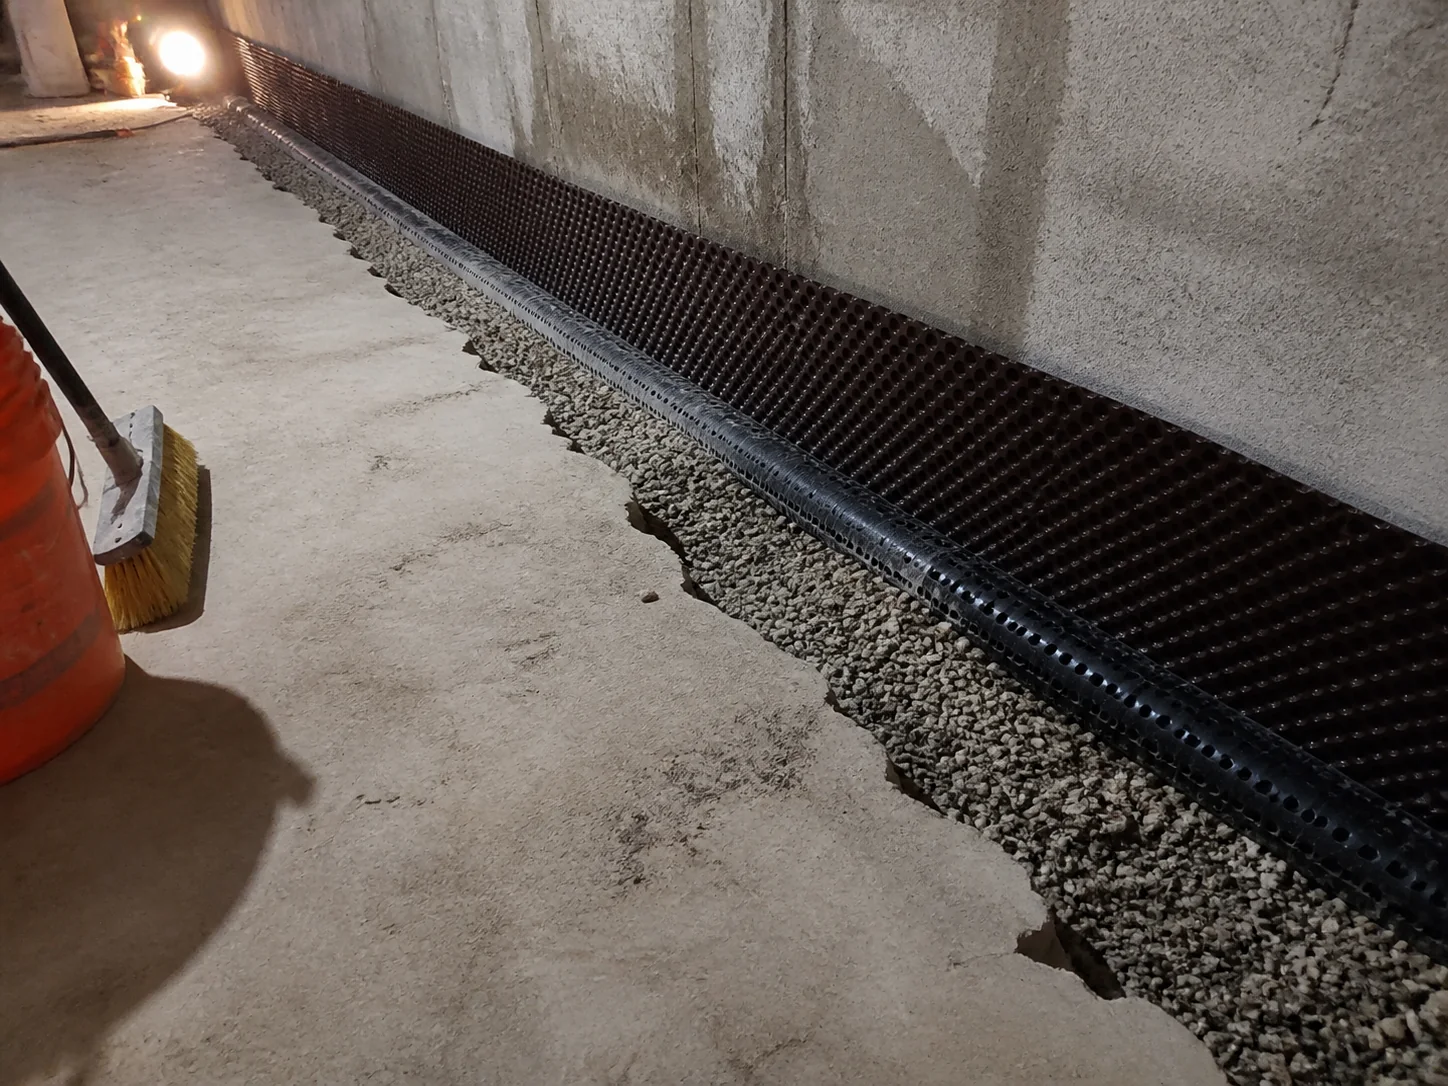 REPRESENTATIVE IMAGE / BASWhole-basement protection
Water at the floor does not always mean the floor is the source. The best plan starts by identifying whether water is entering through a crack, the wall-floor joint, a window well, a drain, surface grading, or a failed drainage system.
Cause-first assessment
Interior and exterior options explained
A written, phased scope where appropriate
+Damp wall or musty area
+Water at the wall-floor joint
+Efflorescence or peeling finish
+Recurring leak after rain or thaw
Take photos when it is safe. Never enter water near electrical equipment.Review the timing, location, drainage, grading, walls, floor, and sump.
Explain targeted, interior, exterior, and drainage options.
Define the work area, sequence, cleanup, testing, and verification.
Specific product, warranty, price, and schedule details are confirmed in the written scope.
That is the purpose of the basement assessment. The visible leak is not always the source, so the assessment looks at drainage, grading, foundation entry points, the sump system, and when the problem occurs before a repair is recommended.
Yes. The proposed repair should identify the area being addressed, the system or materials recommended, what is included, and any warranty terms. Final warranty details must be confirmed by the business owner before publication.
Yes. Photos of the leak area, foundation wall, sump pit, discharge line, and the outside grade can help the assessor prepare, but an on-site visit may still be needed to identify the cause.